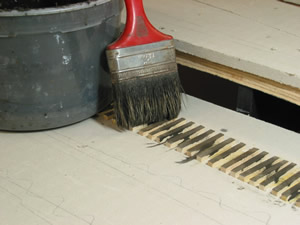
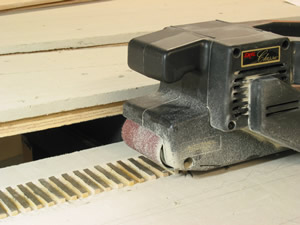
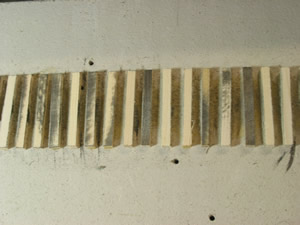
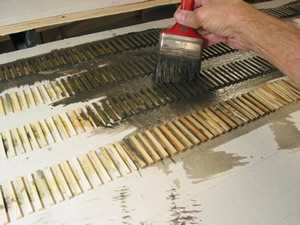
Boxes of railroad ties looks impressive, but does little to run a railroad. Establishing the track locations and glueing the ties is the middle step for me in building track. The tutorial below reflects the method I've developed over the years. It is not necessarily the best way, or even the correct way. But it works for me. Your results may vary.
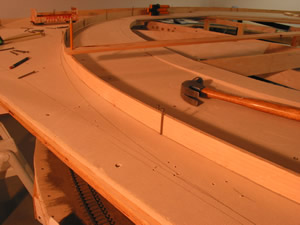
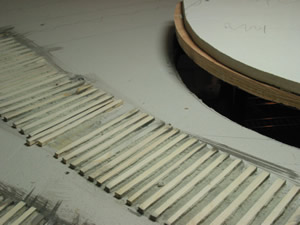
Establishing the track centerlines is an exploratory process, going from what was drawn somewhat to scale on paper to what actually works in 3-D. Many times the trackplan changes a bit at this stage as visual composition of the scenes emerges. Industries get moved around due to clearance point constriction, scenic features are added or deleted as the space dictates, and operational considerations now become evident.
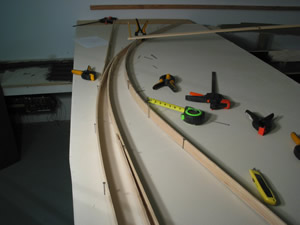
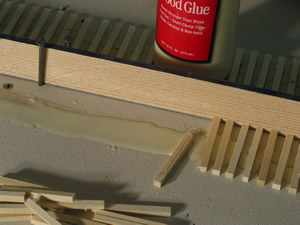
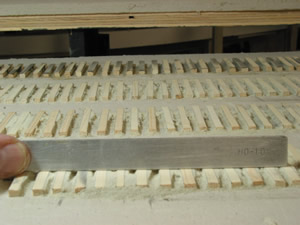
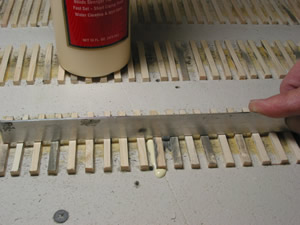
To establish track centerlines I use 3/8" splines ripped from the clearest, knot-free 2x4's I can find. The longer the better. I can usually find the one or two such pieces I need for this in the 14' bin at the lumber yard. The importance of having a knot-free spline is that it will bend evenly over its length, and of course, won't snap in two when bent. I can usually bend a 3/8" spline down to 54" radius without breakage. Wetting the splines in advance allows much tighter radii, and ensures against them breaking.
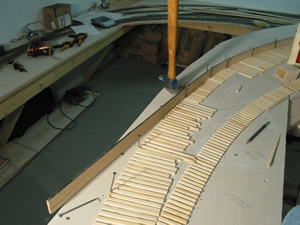
Transition spirals, curvature easements, etc. all happen naturally with this method as the wood bends into the required arc and then back to tangent (straight). No fancy calculations needed. It's like cheating! But why not, it's easier than a 4 year degree in civil engineering.
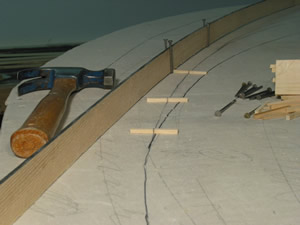
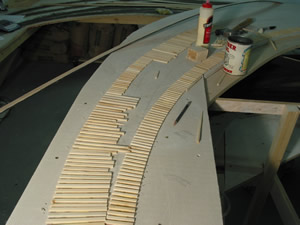
What follows below is for establishing trackcenterlines on a flat surface. The splines can also be used when the benchwork is an open grid. This process will be described later on the Spline Roadbed section.